This feature is only available on the Business Plan.
- Launches or announcements (e.g., Scripe 2.0 Launch)
- Events and webinars (e.g., Live Webinar, IRL Event)
- Product updates or partnerships
- Community or seasonal challenges
Creating a Campaign in Scripe
To view and manage campaigns, click on Campaigns on your dashboard’s sidebar. From this page, you’ll see an overview of all campaigns.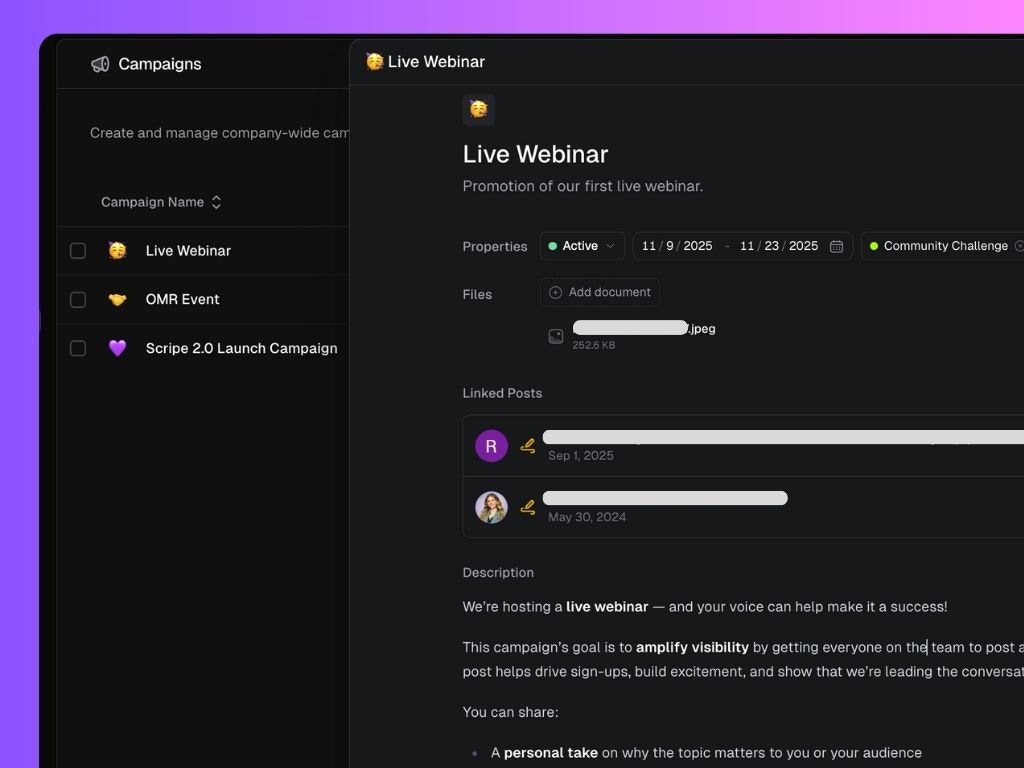
- Click New Campaign.
- Add your campaign name and summary.
- Select an emoji for your campaign.
- Choose whether to run the campaign across the entire company or only for selected Personal Brands.
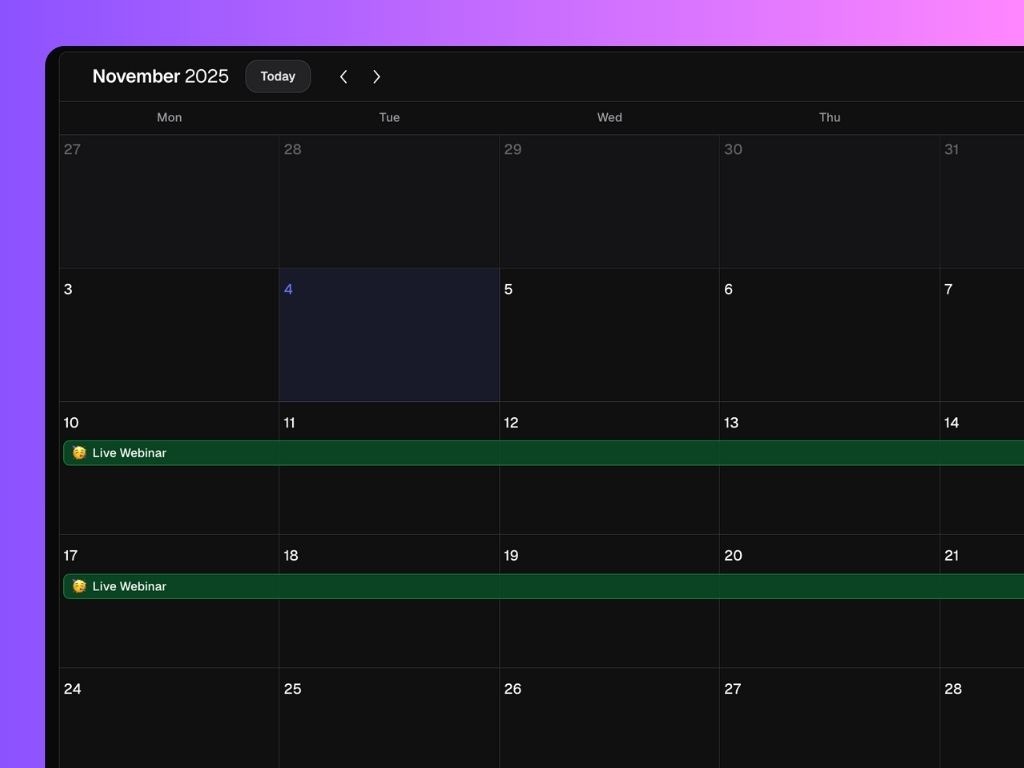
- Set a date range to define the campaign period.
- Upload any supporting files (e.g., visuals or templates).
- Add a description or briefing for your team.
- Add labels (optional) to organize your campaigns by theme (e.g., Community Challenge, Product Launch).
- Click Create.
Linking Posts to a Campaign
When creating, editing, or managing your posts, you can link them to a campaign directly. This allows your team to track all related content and performance in one place. Linked posts appear inside the campaign view under Linked Posts.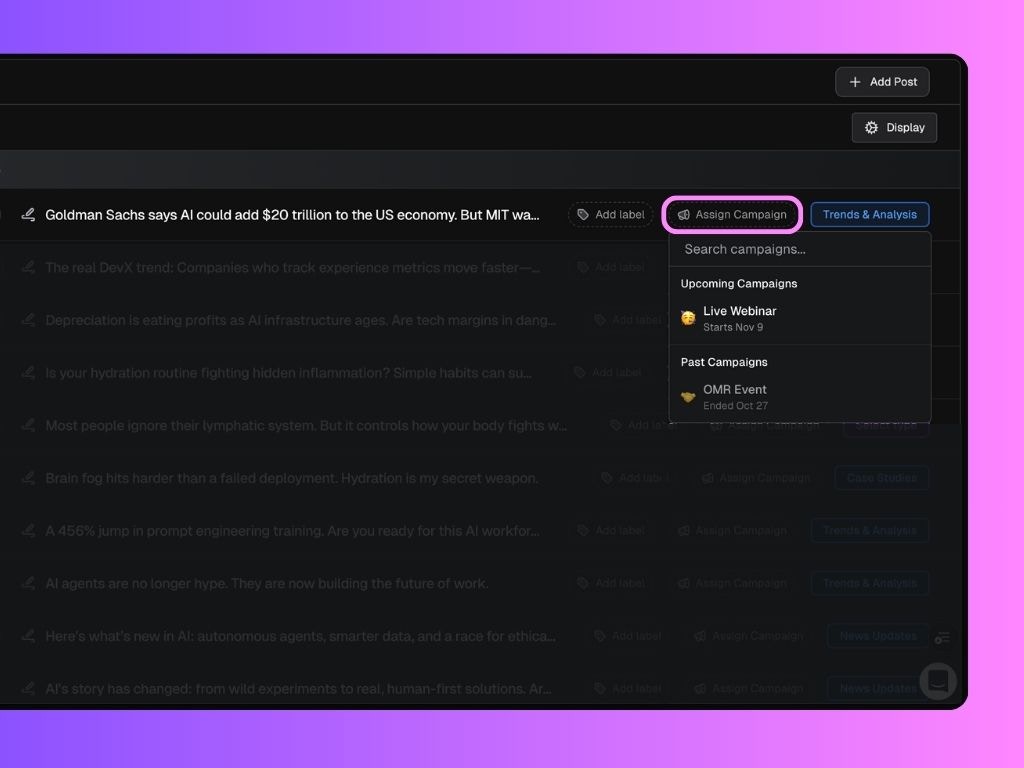
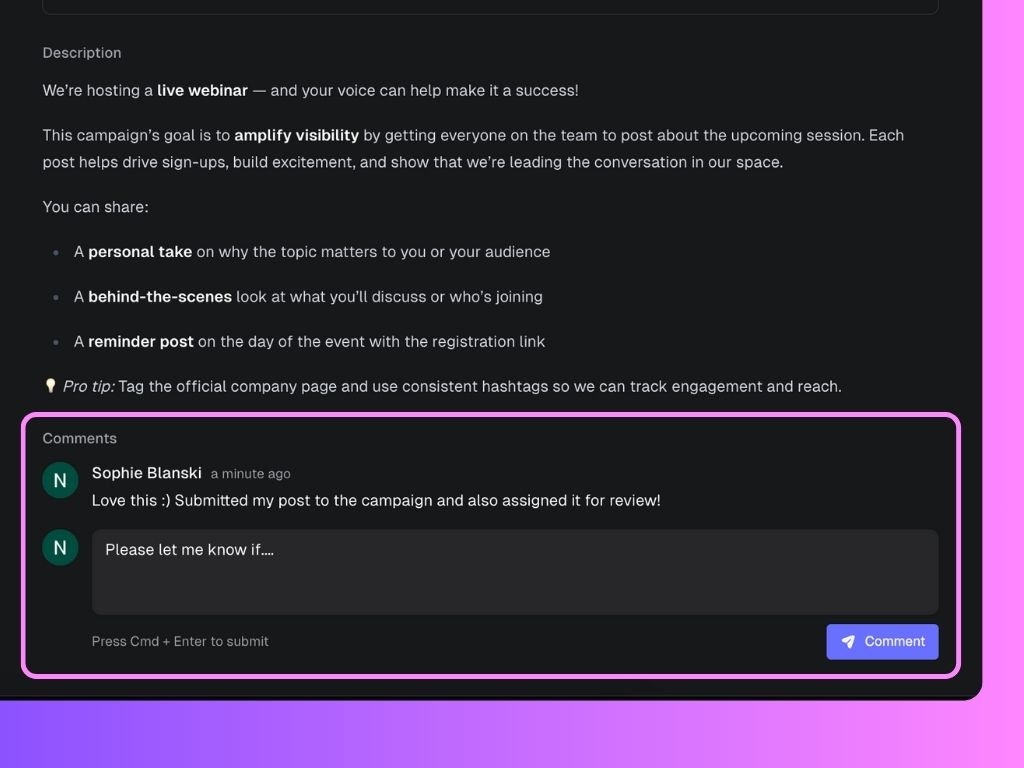
Collaborating on Campaigns
Each campaign has its own comment section where teammates can share ideas, feedback, or confirm that their post has been submitted. You can also tag teammates or use comments to coordinate post schedules or final checks.